Blog
I set up a VLAN for my smart home and you should too

Are you looking for a way to secure your smart home against potential bad actors or intruders? A VLAN is the perfect tool for the job. Here’s how I have my VLAN set up, and how I plan to use it to secure my smart home’s network.
HTG Wrapped 2025: 24 days of tech
24 days of our favorite hardware, gadgets, and tech
Most smart home devices don’t have the best security intentions in mind
Companies really only care about their own interests, not yours.

Did you know that your IoT (internet of things) devices could be a major hole in your smart home’s security strategy? Most people don’t realize this. Whether we like it or not, most IoT devices actually phone home quite often, even for the simplest of things. Earlier this year, a massive AWS outage showed just how far-reaching this can be when people weren’t able to control their beds, let alone smart switches or plugs.
This internet reliance comes from the fact that even when you’re on the same network as your IoT devices, much of the time, any commands you send to them go through the cloud and come back down. That might not sound like a terrible thing, but it means that there’s data being sent from your network to who knows where in who knows what country.
What data is being sent to those servers? It’s more than just “turn this light on.” That’s where a VLAN and network segregation comes in.

Your Smart TV Is Spying on You With Three Letters You’ve Never Even Heard Of
The hidden technology in your smart TV that tracks everything you watch, even offline.
How does a VLAN help fix smart home security issues?
An isolated network is a secure network.

Chances are, your house only has one network used for everything. That works in most instances, but there’s actually a pretty big drawback to having one network: all the devices on the network can talk to each other.
If one device, say, a 3D printer or security camera, is compromised, then your entire network is compromised. That one device can access every other device on your network, whether you like it or not.
That’s why VLANs, or virtual local area networks, are so important in a smart home (or any home, really). With a VLAN, you’re able to separate network traffic into its own lanes. Think of it like a highway that’s either one lane or many lanes, but with walls between them.
With a VLAN, you’re able to say “Traffic in VLAN 1 can travel into any other lane no problem, but traffic in VLAN 2 can only access VLAN 2 and nothing else.” In that instance, your computer could be on VLAN 1, and it’s able to talk to devices on both VLAN 1 and VLAN 2. Your IoT devices could be on VLAN 2, and they’re only able to communicate with devices on VLAN 2, and not VLAN 1.

6 Privacy-Respecting Smart Home Brands That Won’t Sell You Out
Not every smart home brand requires access to your personal data.
Depending on what networking hardware you have, this can get as deep as you want. I have a VLAN that specifically blocks all cross-talk traffic between devices and only allows access to the external internet. If I put two computers on that VLAN, they wouldn’t know the other exists, and they don’t know any other device on my network exists—that VLAN simply has external network access and nothing more.
How does this fix your IoT security issues? Well, if you have a separate IoT VLAN where the devices can’t talk to each other and also can’t talk to devices outside that VLAN, then if that same 3D printer or security camera gets hacked, nothing more is compromised outside that one specific item.
To save my smart home sanity, I segregated my network with VLANs
A lot goes into setting up a segregated smart home network.

My home network is run on Unifi, which makes creating VLANs that are IoT specific quite easy. I’m still working on the perfect setup, but so far, here’s what I’ve done.
For starters, I created the VLAN and named it IoT. This is pretty simple, but it’s how I want to identify it. I’ve enabled IGMP Snooping and mDNS, as both of those functionalities are necessary for many smart home devices. I have the network set for 253 IP addresses, with 205 of those addresses being in the DHCP pool for auto-assignment. I can expand this later if needed, but it gives me 50 addresses I can set as static if I need and over 200 that are dynamic, which is more than I’ll likely ever need.
I also have the IoT and my main Trusted VLAN in the mDNS proxy, so that way devices on my main VLAN and the IoT VLAN can properly communicate with each other. However, that’s where my VLAN setup ends.
I am currently in the process of completely overhauling my smart home infrastructure to move everything to a local-first approach. My IoT VLAN does share access to my LAN, and it also still has external access. This is something that I plan to change in the future once I finish migrating to devices that support those types of functions.

You Need a Separate Network To Protect Yourself From Your Smart Devices
There is a quick and easy way to reduce your risk.
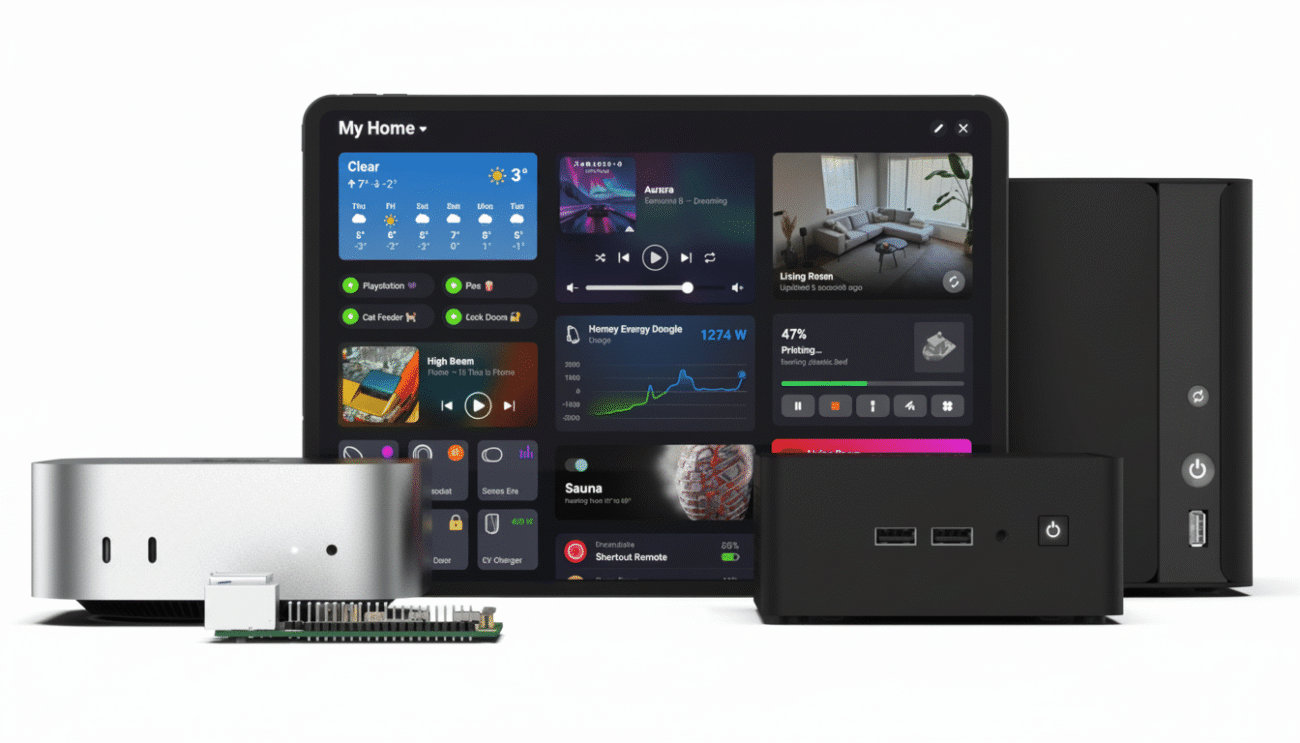
I already have Home Assistant on my network and also heavily use Apple’s HomeKit, which both offer a local-first approach to smart home and IoT devices. I’m also in the process of building a lot of my own sensors using the ESP32 platform.
In the future, I’ll be building out the firewall rules for the IoT VLAN to not let it cross over to my Trusted VLAN, meaning the IoT devices won’t be able to talk to my network for the enhanced security that I talked about. I’m also going to build an easy toggle so I can open up that network to the outside world when adding a new device, if it requires it, and then closing it back off once I have the device set up.
The thing for me is setting up the VLAN in stages. I already have the VLAN there, and I have a Wi-Fi network attached to the VLAN (which is set to 2.4GHz only and an IoT network), and most of my smart home devices are on the VLAN. This means that, once I have all the firewall rules set up, all my devices will be immediately secured since I’m going the route of building the network first and then securing it.
What you need to set up a VLAN smart home network
It’s easier than you think.

If you’re interested in building your own VLAN’d smart home network, you’ll first need some form of a managed network. This isn’t common on most consumer-grade networking hardware yet, sadly. I opted for the route of using Unifi and Ubiquiti in my home network, which is actually becoming a lot more affordable to do with the Dream Router 7.
However, there are other options too. You could build your own with something like pfSense or OPNSense, or you could just buy other managed networking hardware like TP-Link’s Omada.
Once you have the hardware set up, you’ll just need to make sure it’s all compatible. Because I use Unifi, my Wi-Fi access points and my managed switch all talk to each other, so I can handle the managed network top to bottom on all devices.
9/10
- Brand
-
Unifi
- Range
-
1,750 square feet
The Unifi Dream Router 7 is a full-fledged network appliance offering NVR capabilities, fully managed switching,a built-in firewall, VLANs, and more. With four 2.5G Ethernet ports (one with PoE+) and a 10G SFP+ port, the Unifi Dream Router 7 also features dual WAN capabilities should you have two ISP connections. It includes a 64GB microSD card for IP camera storage, but can be upgraded for more storage if needed. With Wi-Fi 7, you’ll be able to reach up to a theoretical 5.7 Gbps network speed when using the 10G SFP+ port, or 2.5 Gbps when using Ethernet.
My VLAN network is not all sunshine and rainbows
Sometimes it just works, and other times…

I love having a segregated network, but I’ve had quite a few issues with it during setup, which is why I still don’t have my VLAN fully locked down. For instance, when my iPhone is on my Trusted network, I can’t add an IoT device to HomeKit on the IoT network properly. I’ve tried and tried, but putting in the IoT network’s credentials from my iPhone on my trusted network just doesn’t work for me. The temporary workaround for that is to simply connect my iPhone to the IoT network, and that seems to work.
I’ve also had some major problems when trying to use Home Assistant on one VLAN and devices within Home Assistant on another VLAN, with my primary devices on a third VLAN. I’m sure there’s a fix for this, and I’m working on getting it all set up, but it’s still an issue I ran into.
These are just two of the main problems I’ve had when setting up an IoT VLAN. If you’re thinking that it’ll be super simple to do and there won’t be any problems—think again. Just be ready for some headaches in the initial switch over and know that there will definitely be some troubleshooting that goes along with setting up an IoT VLAN.
The pain will be worth it, you just need to know that there, very likely, will be pain.
VLANs are an extremely deep aspect of networking, and I’m really only just scratching the surface. Having a dedicated IoT VLAN is one of the best ways to secure your smart home, though, and I’m excited to finish getting my firewall set up in the new year.